Tables and Charts
This page will give you a start to creating tables/charts for your site and having them styled so that they look like this:
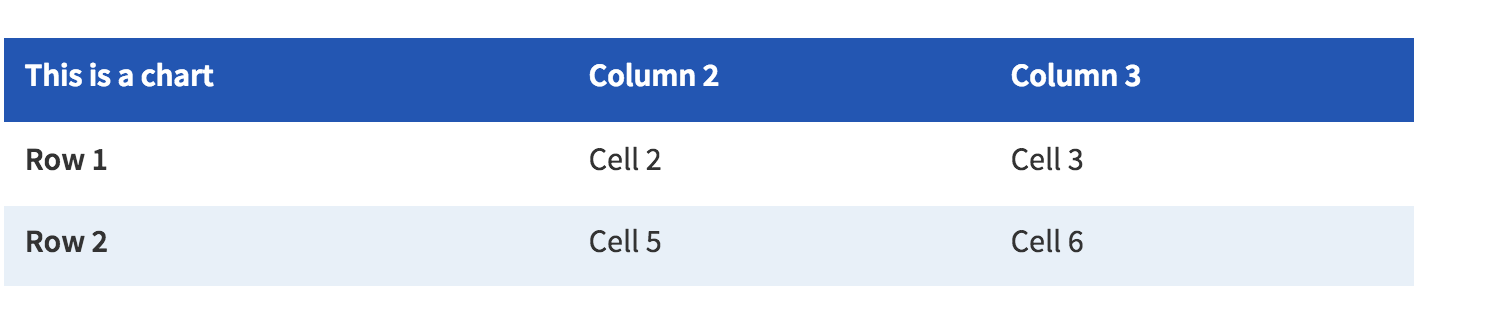
REMINDER: Tables like these are not mobile-responsive. We have a mobile responsive table component that you can request using the web request form.
Create a Table
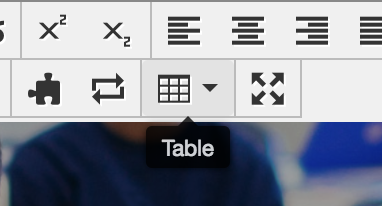
Find the table button, click the drop down and choose the number of cells you want. If you want a table that has more than 10 rows or 10 columns you will need to add them after you put the table on the page. Instructions are below.
Find and click on the table button and select the number of cells you want
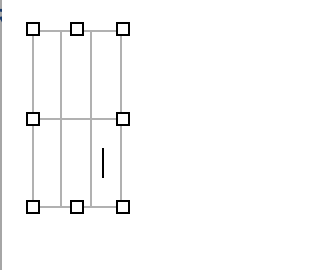
Add the information to your table
Add and delete rows/columns
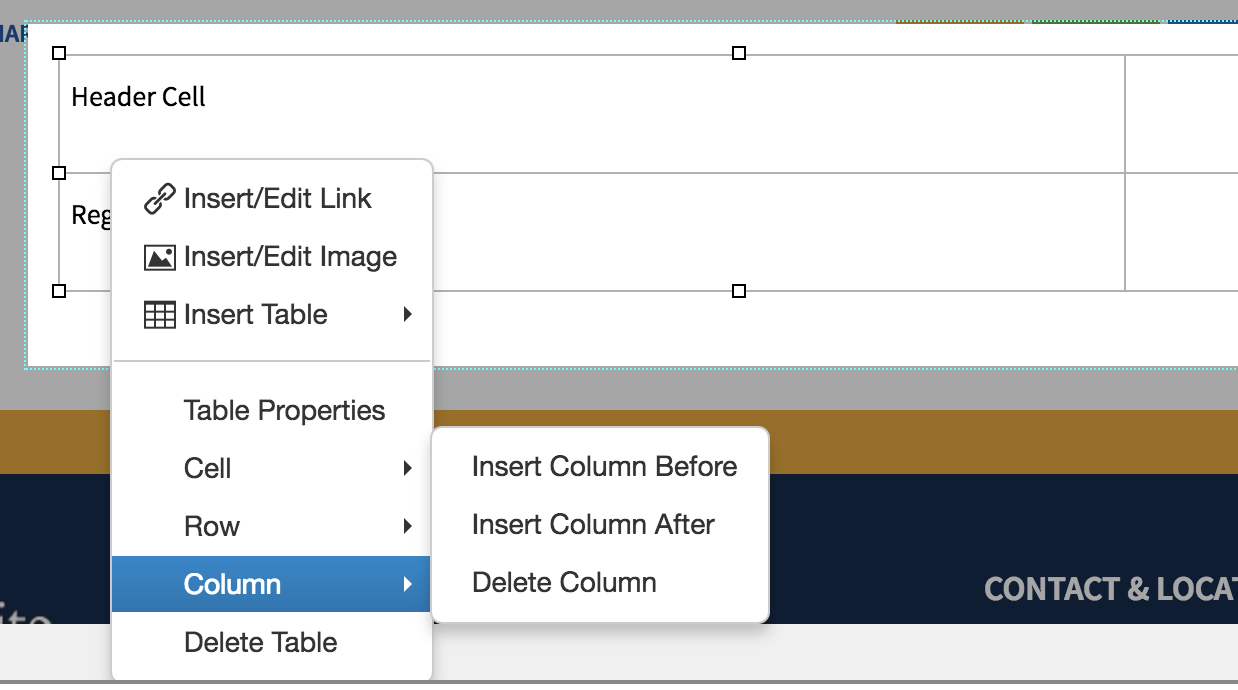
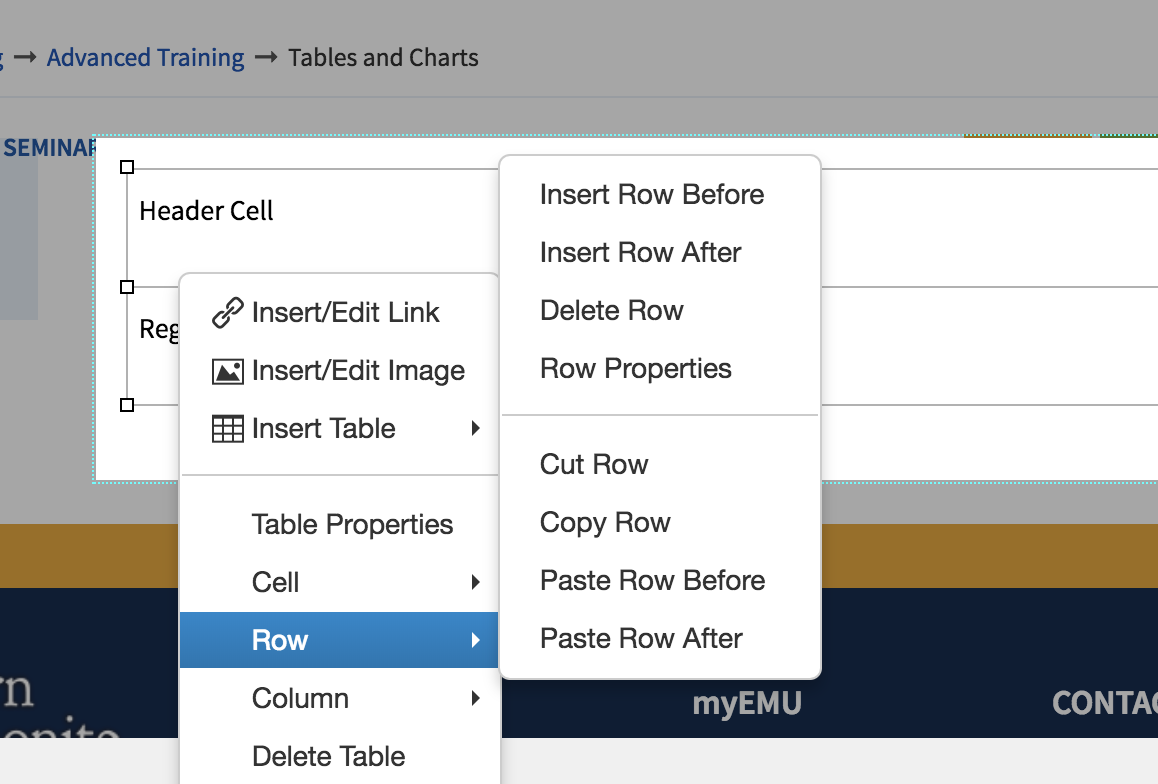
You can add and delete rows and columns by right-clicking the table. This will bring up a table styling menu. Hovering or scrolling to cell and row will give you options for adding, deleting, etc.
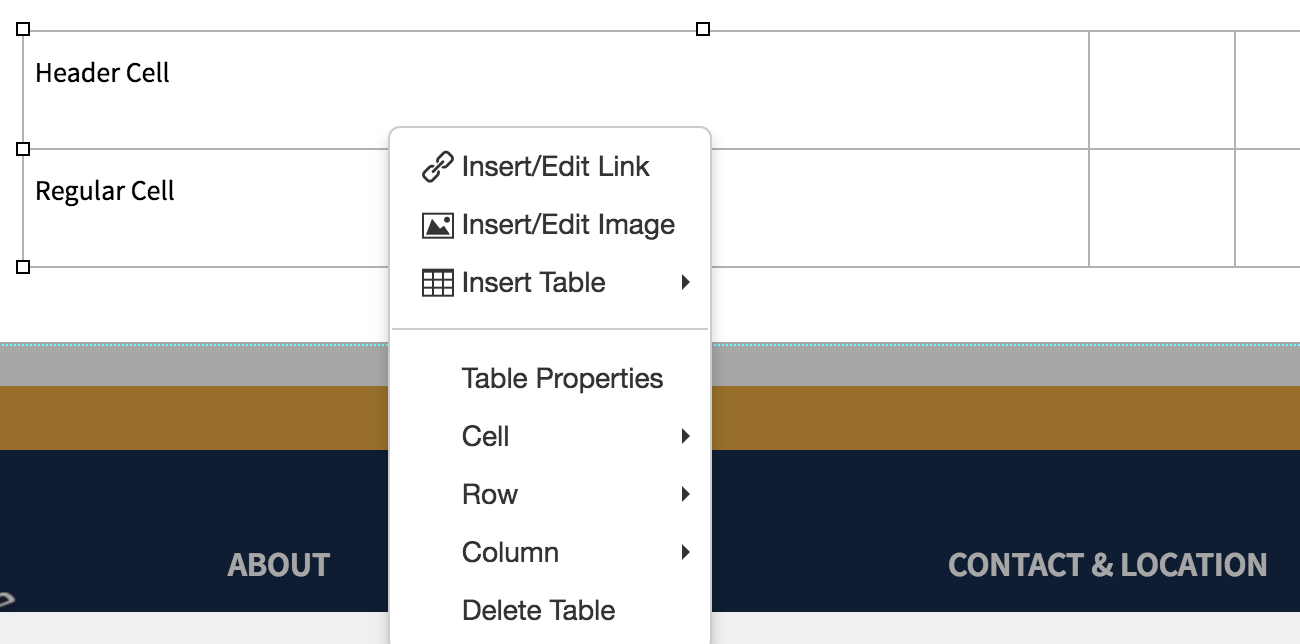
You can insert, delete, copy and paste rows and columns using the various menus.
Style your table
Now that you have a table with information in it you can style your table. Find the table menu again by right-clicking.
Header Cells
Choose header cells (mostly across the top, but could also be column one) Highlight the cells you want to be header cells. Then right-click to get the menu. Choose "Cell" and change cell type to "header cell."
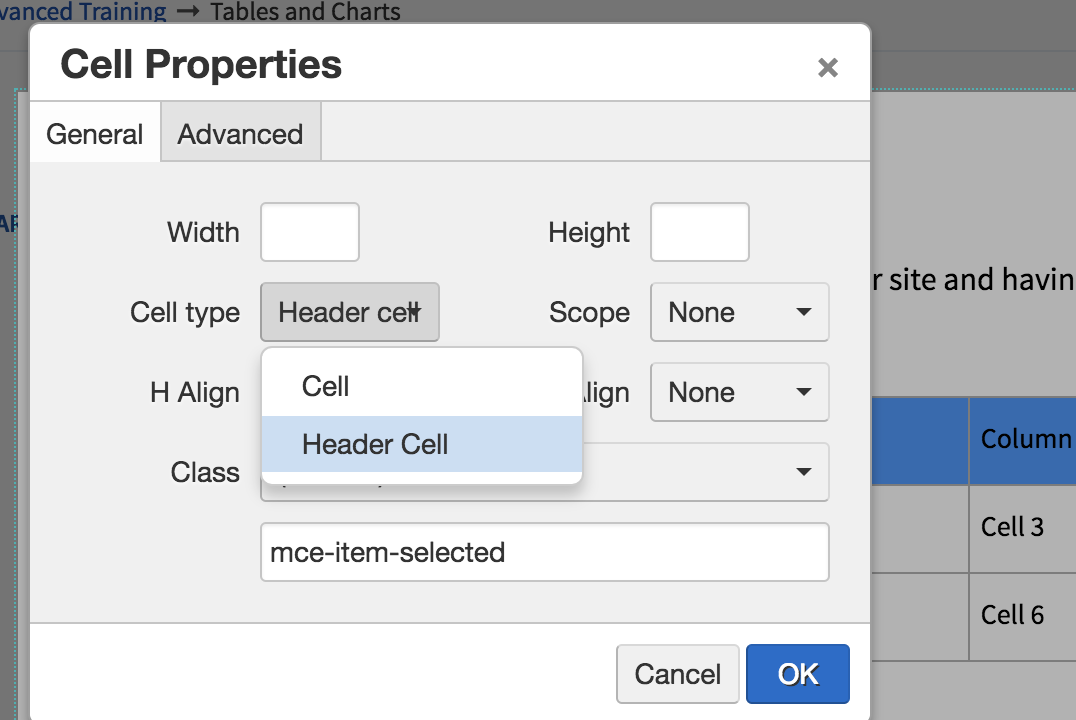
Table Styling
There is a "general table style" that makes the header cells the right color and highlights every other line. Use this. Otherwise your table won't look like much.
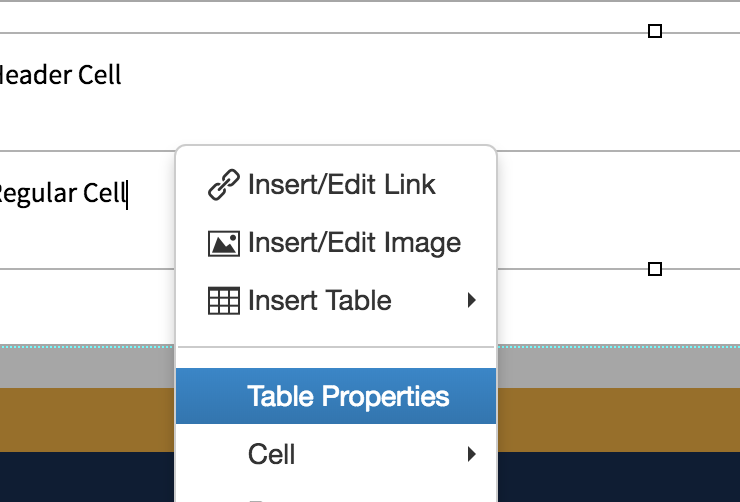
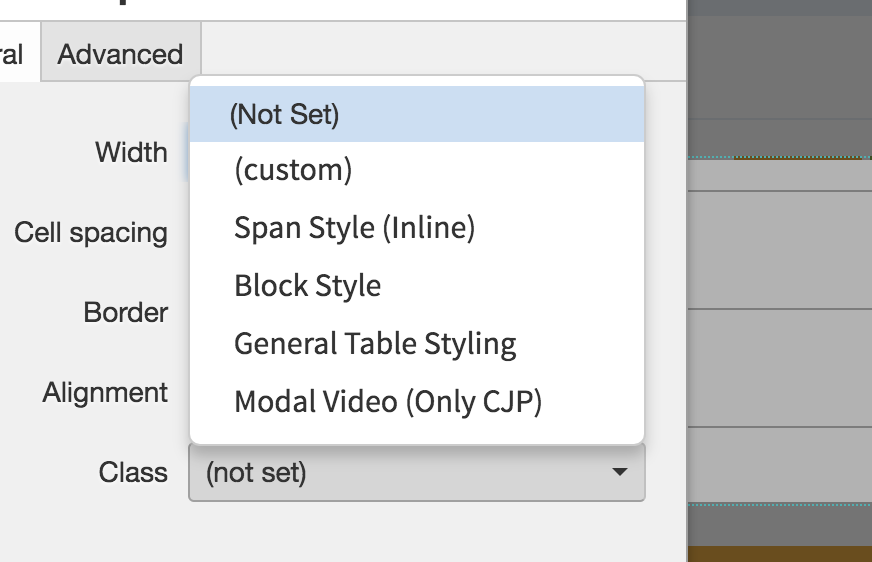
Once this is done your table will look like the below in edit mode.
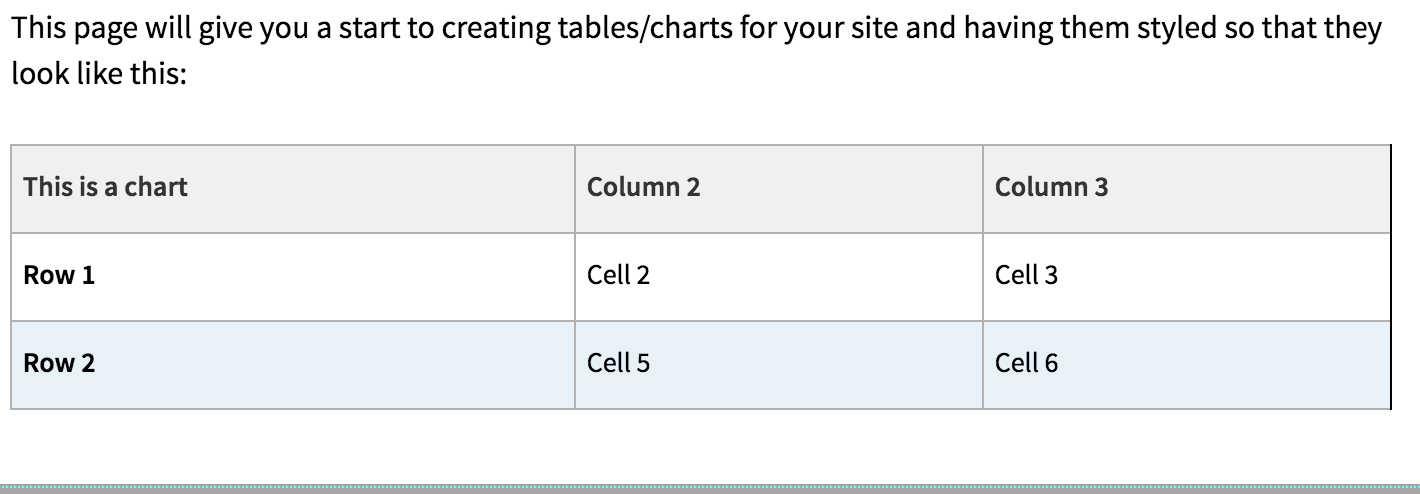
It will look right when you save and submit.